The Plan:
The plan is to record the films on our VHS cam-corder while running them on the original 8mm projector. The recorded movies will then be digitized into a computer, edited, and copied to some DVDs for distribution.
What's needed:
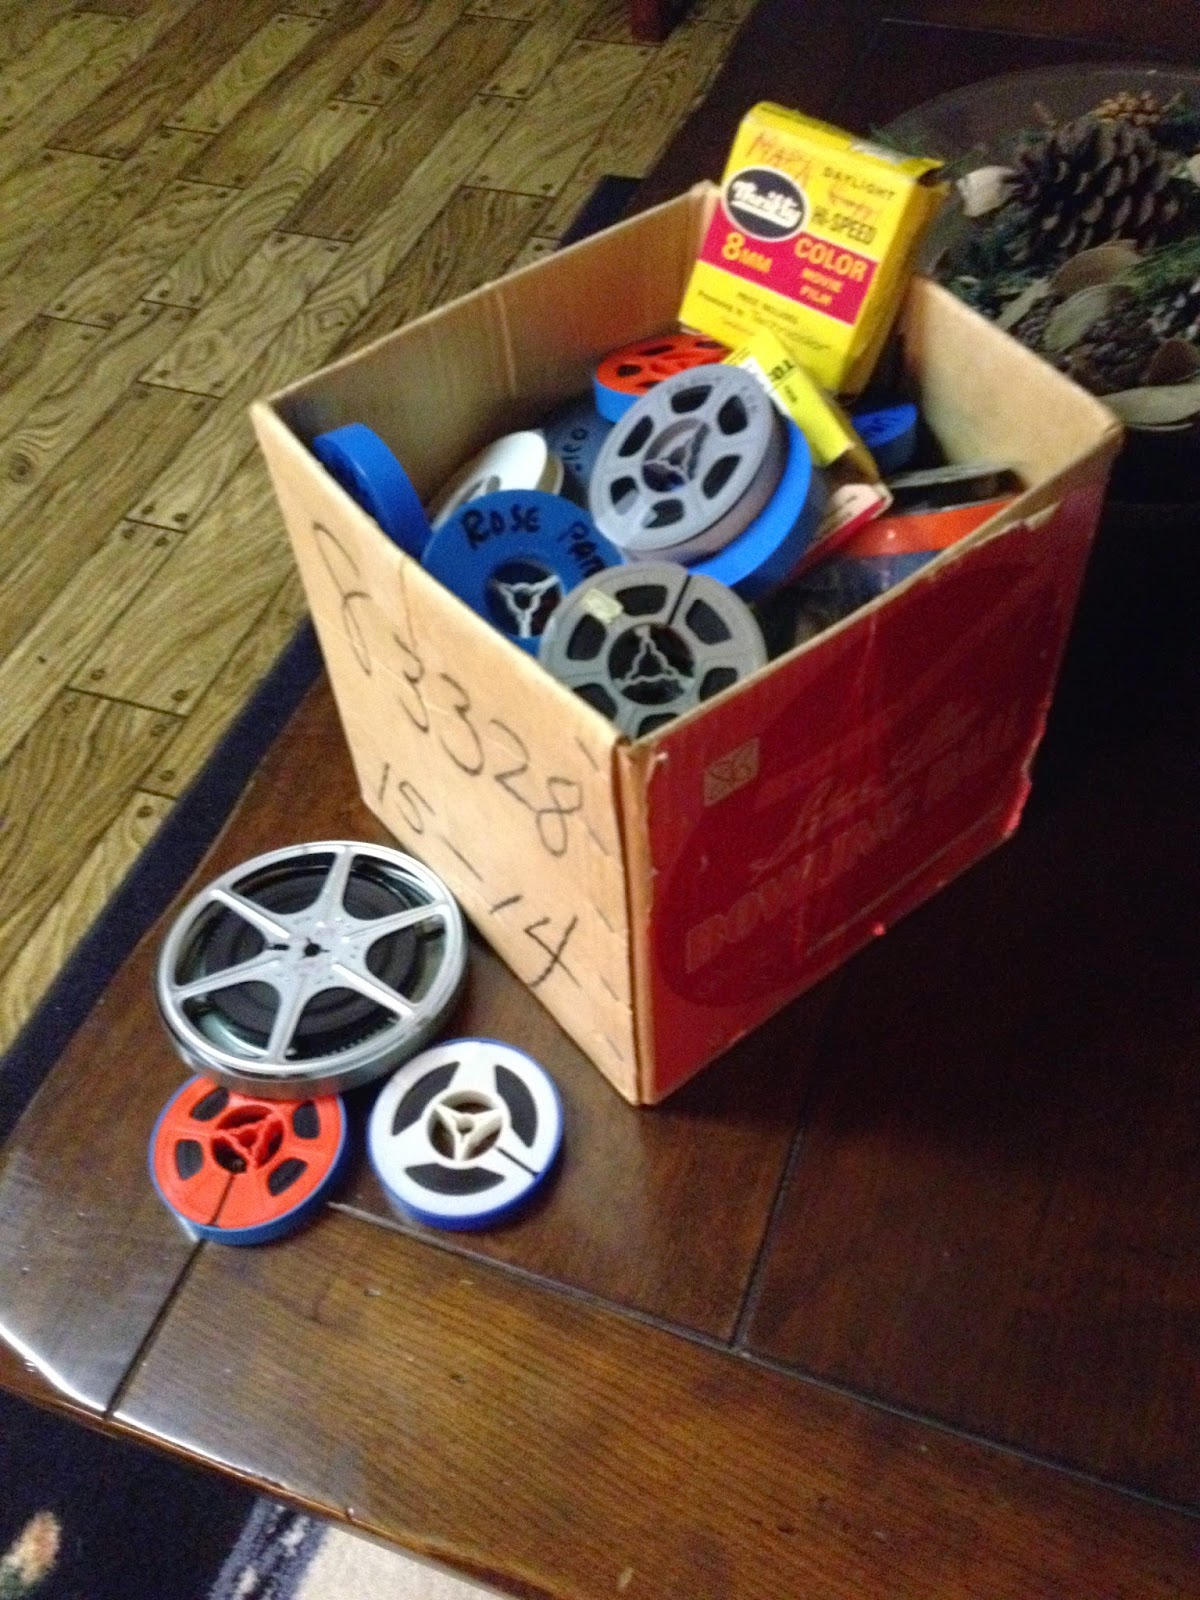
- Box of 8mm films - some labeled…most not
- 8mm film projector
- Splicing equipment - scissors, tape, exacto knife
- Telecine transfer box
- Video camera
- Calibrated camera height adjustment (Harry Potter Books 1 & 2, and one Clive Cussler paperback is sufficient)
- A black shroud (a black In-N-Out T-shirt is preferred)
- Video Digitizer & computer software
- Computer with some software, such as:
- iPhoto for slides
- iMovie for editing the films
- iDVD for creating a DVD menu
- a Disk Utility to burn many DVDs easily
- Ample supply of alcohol (not for cleaning…for drinking)
About 8mm Films
 For those not familiar with the technology of 8mm films, a little background: They came on reels of 16mm film with perforations on each side. The film was loaded into a camera (while in a darkened room so as not let any light shine onto the raw film), and would provide between 3 and 4 minutes of footage. When the reel was spent, the camera was opened (again preferably in a darkened room), and the film reel was flipped over and swapped positions with the take-up reel to allow additional footing to be recorded on the other half of the film. When filming was complete, the film was packaged and mailed to a center where it was processed and split down the middle to create two separate 8mm films.
These two films were then spliced together to provide just under 10 minutes of footage.
Step one: Set-Up
The Projector:

The projector is the original Bules family 8mm projector - still in working order, even the bulb. The projector has three modes of operation: Forward, Reverse, and aw, crap…the film broke again. Once the film reel was loaded, the motor was turned on (preferably forward, although reverse did occasionally happen requiring a few curse expletives, the film re-loaded again, and FORWARD motion properly engaged). The lamp was then turned on and you are in business. However, the projector’s process must be closely monitored as the film will inevitably break, or jam inside the projector, or lose sync with the projector sprockets. A film break required the whole process stopped, the film led out far enough so that it can be spliced with the other end, re-inserted into the projector in a hopeless attempt to restart the film where it left off.
In some cases, a film losing sync with the projector sprockets can be cleared by stopping the projector, rewinding a few inches, and restarted. You may notice this in watching some of the digital versions.
Transfer Box

The next item in the set-up is the Telecine transfer box (Mom Bules happened to already have one…for some reason). The projector shows the movies onto a mirror and then onto a small screen inside the box. The Camcorder focuses on this small screen to record the film.
To ensure the best possible picture quality, a black shroud (an In-n-Out black T-shirt being preferred ) is draped over the camera and transfer box to block out external light.
Camcorder
The Camera is a Panasonic VHS recording camera. The camera has a 120VAC power adapter, so running off of batteries wasn’t necessary. The original plan was to record the movie onto a VHS tape, which then can be played back later into the computer. What I found was that the camera has a live video output which can be played directly into the computer while the projector was running, bypassing the VHS tape nonsense. The unit was placed in “camera” mode which provides the live video output. Other set-up functions were:
- Eliminate the graphics overlay function showing the date, battery status, etc.
- Eliminate the on-screen Message which says “Happy Thanksgiving!”
Occasionally, during an initial power-up session, these two steps went missing, causing a mad scramble during the recording process to turn these features off.
Digitizer

The actual digitizing process is performed by a Roxio "VHS to DVD” hardware and software package. The Roxio hardware unit receives the live video and audio signals from the camera, converts the video and audio to digital versions, and feeds the digital signals into the computer via a USB plug.
 The software app which comes with the package provides the ability to start and stop the conversion process, name the file, and store the file somewhere on the computer.
Computer
The computer is a Macbook Air laptop.
Here is what the set-up looks like:

Final Set-up
The final steps in the set-up is adjusting focal lengths and heights. The transfer box comes with an adjustable stand so it can be set to match the center of the projector. The camcorder required two books and a pamphlet to get its lens in the middle of the transfer box opening. Camera focus and projector focus are then adjusted to the best possible.
No comments:
Post a Comment